marker (coordinate parameters) |
  
|
marker (coordinate parameters) |
|
Markers define points with orientation in 3D space. They serve to define geometric targets for the human model. These can be, for example, points for grasping, interacting, placing, walking, gazing, or positioning.
creating a marker
A new marker can be created by left-clicking the  button add marker (interactive) or create new parameter helper object within operations) (siehe Abbildung marker).
These markers can serve as object or operation parameters. In addition to the "Objects" tab, this button is also available under "Behavior" for operation parameters.

Abbildung 182: create marker
Coordinate parameters are created as follows:
(1) |
Move the mouse to the intended position and a left click to fix the position. |
(2) |
Move the mouse in the direction of the intended orientation and a left click to select that orientation. |
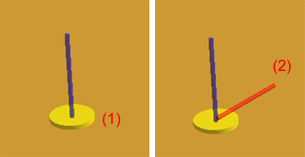
Figure 183: marker
An existing coordinate parameter is selected from the 3D scene via the button  Select parameter.
Adding a marker as a helper object to an object
The following helper objects / marker types are available:
name |
object standard naming |
description |
|---|---|---|
marker |
helper object |
simple helper object (e.g. target for actuate) |
grabpoint (universal) |
GP_helper object |
universal grabpoint, both hands are possible (e.g. grab point for second hand on tool) |
grabpoint (left) |
GP_LEFT_helper object |
grabpoint for left hand (e.g. for tools, parts) |
grabpoint (right) |
GP_RIGHT_helper object |
grabpoint for right hand (e.g. for tools, parts) |
tool center point |
TCP_helper object |
tool center point (e.g. TCP on tools) |
walk position |
WP_helper object |
walk point |
connection point |
CCP_helper object |
connection point for objects (e.g., on screws, to place them at screwdriving tools) |
Figure 184: types of markers
The prefixes preceding "helper object" serve to automatically identify the helper object type when used in tasks.
You can switch between helper object types using the key combination Ctrl + M.
Alternatively, the helper object type can be changed in the object properties window by selecting a different option from the "marker type" drop-down menu under "geometric primitive."
There are two ways to add helper objects or markers, such as gripping, action, or path points, to selected objects:
either manually via the object structure or by linking them within an operation.
manually add an helper object to an object via the object structure
A marker can be created using the "add marker (interactive)" button, as described above.
After creating the marker in the 3D window, a prompt appears asking whether the newly created marker should be assigned to an object, and if so, to which one.
The marker then appears at the desired position in the object tree. This position can be adjusted at any time via drag & drop.
Adding an helper object to an object via linking within the task
Some helper objects can also be added via a task.
This is explained below for grabpoints (for the tasks "pick object(s)" / "use tool") and works analogously for temporary TCPs in the "use tool" task.
For example, the "Pick up object(s)" task includes a "grabpoints" category.
There, existing grabpoints can be selected or new ones created.
To create a new grabpoint, the selection dialog must be opened using the "Select from list or 3D view" button.
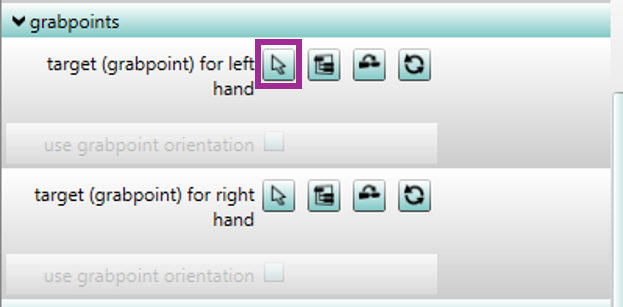
Figure 185: grabpoint selection
From there, a grabpoint for the corresponding hand can be created directly using the "add marker (interactive)" button by clicking on the desired grabpoint location in the 3D view.
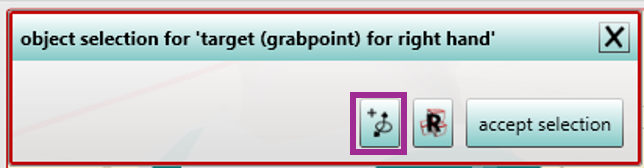
Figure 186: object selection for grabpoint
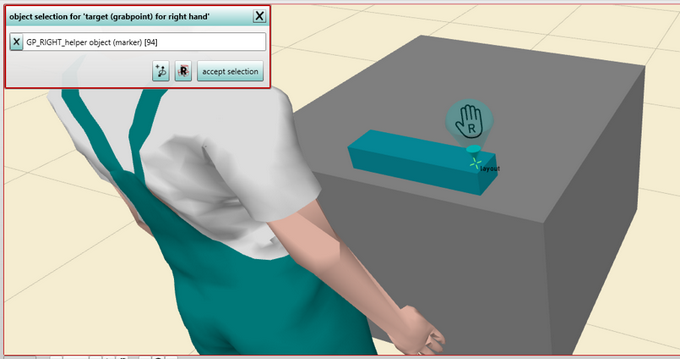
Figure 187: create grabpoint
After the click, the parent object for the marker can be automatically confirmed or selected.
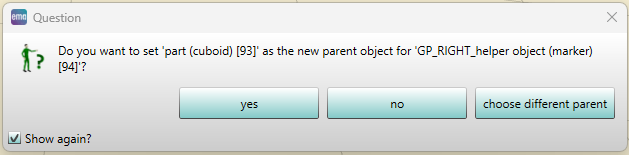
Figure 188: assign a grabpoint to an object
grabpoints
A grabpoint can be used in two different modes via the "use grabpoint orientation" checkbox:
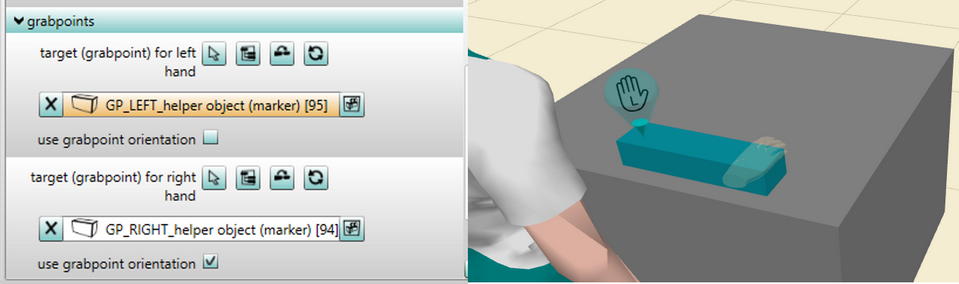
Figure 189: grabpoint orientation
Disabling "use grabpoint orientation" means that only the location where an object is to be grasped is specified via the symbol (blue cone). The alignment or orientation of the hand at that location is determined automatically. The symbol indicates whether the grabpoint is for two hands or for the left or right hand.
Enabling (checking) "use grabpoint orientation" means that both the location and the orientation for grasping an object are defined. The icon now displays a hand with a specific spatial orientation that the human model attempts to reach.
iMultiple grabpoints can be defined for one or both hands. iIf multiple grabpoints exist for a single hand, an algorithm determines which grabpoint is used when picking up objects or repositioning the grip. iIf the graboint is not to be changed during repositioning, meaning the current grabpoint should be retained, the "use grabpoint orientation" parameter must be disabled for the specific task. |